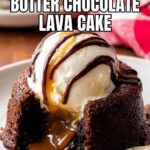
Imagine biting into a warm, gooey cake with rich semi-sweet chocolate melting alongside creamy peanut butter—pure heaven! This Peanut Butter Chocolate Lava Cakes Recipe is an absolute showstopper that’s easier to make than you might think.

Jump to:
- Why You'll Love This Recipe
- Ingredients & Why They Work
- Make It Your Way
- Step-by-Step: How I Make Peanut Butter Chocolate Lava Cakes Recipe
- Top Tip
- How to Serve Peanut Butter Chocolate Lava Cakes Recipe
- Make Ahead and Storage
- Frequently Asked Questions:
- Final Thoughts
- Peanut Butter Chocolate Lava Cakes Recipe
Why You'll Love This Recipe
I have to admit, these lava cakes quickly became one of my favorite go-to desserts. The way the peanut butter surprises you with that melty center makes every bite a little decadent celebration.
- Gooey Molten Center: Each cake reveals a perfectly soft powerhouse of melted chocolate and peanut butter.
- Simplified Prep: With just a handful of ingredients and 15 minutes prep, it’s surprisingly easy.
- Impressive Dessert: Looks fancy but requires no fancy skills—perfect for impressing guests (or yourself!).
- Customizable Serving: Top with ice cream or drizzles for extra indulgence and personal flair.
Ingredients & Why They Work
Choosing quality ingredients makes all the difference here—especially the chocolate and peanut butter. I recommend picking smooth, commercial creamy peanut butter for the perfect texture and melting ability.

- Semi-sweet chocolate: I use high-quality brands like Ghirardelli or Lindt to ensure a smooth, rich chocolate flavor.
- Unsalted butter: Adds creaminess and richness without altering the salt balance.
- All-purpose flour: Provides structure to hold the cake together while keeping it tender.
- Confectioners’ sugar: Dissolves smoothly into the batter for balanced sweetness and texture.
- Salt: A pinch enhances the chocolate and peanut butter flavors—it’s magic in small doses!
- Large eggs and egg yolks: These lend moisture, richness, and help bind the cake with a tender crumb.
- Creamy peanut butter: Commercial creamy peanut butter (like Jif or Skippy) melts perfectly to create a luscious gooey center.
- Optional toppings: Ice cream, melted peanut butter, or chocolate syrup to personalize your serving and amp up the indulgence.
Make It Your Way
The beauty of this Peanut Butter Chocolate Lava Cakes Recipe is how easily it can be tweaked to suit your mood or pantry. Whether you fancy a twist on the flavors or need to cater to dietary preferences, there’s room to play and make it uniquely yours.
- Peanut Butter Swap: If you want a more intense peanut butter flavor, try swirling a little extra peanut butter right into the batter for pockets of gooey surprise. Just be mindful not to overpower the molten chocolate magic!
- Nut-Free Variation: I’ve also made these without peanut butter for those with allergies — just skip the peanut butter dollops and bake as usual. The cake remains decadently moist and molten with pure chocolate goodness.
- Serving Ideas: I love pairing these cakes with a scoop of vanilla bean ice cream and drizzles of melted peanut butter and chocolate syrup. It adds a lovely contrast between hot and cold, creamy and rich.
- Muffin Pan Hack: Don’t have ramekins? No worries! Use a greased and cocoa-dusted muffin pan instead. Baking time drops to 10 minutes, and you’ll get a few extra smaller cakes ready to share.
Step-by-Step: How I Make Peanut Butter Chocolate Lava Cakes Recipe
Step 1: Prep the ramekins for perfect release
Start by spraying four 6-ounce ramekins generously with nonstick cooking spray. Then dust them lightly with cocoa powder, tapping out any excess. This step is my secret to these cakes sliding out like a dream once they’re baked, without sticking or falling apart. Plus, preheating your oven to 425°F (218°C) now gets everything ready to go.
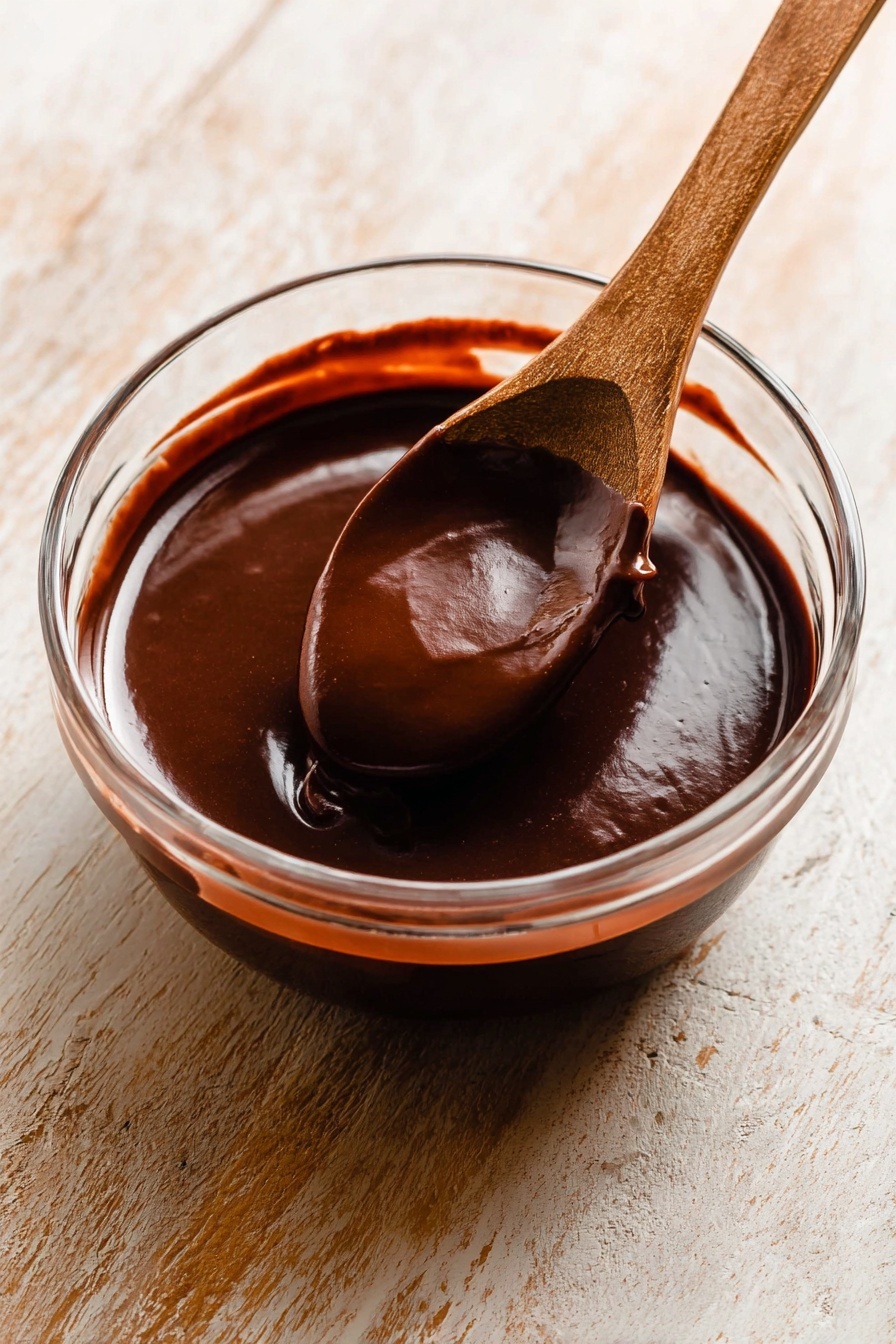
Step 2: Melt the chocolate and butter perfectly
Coarsely chop 6 ounces of good quality semi-sweet chocolate — I swear by Ghirardelli or Lindt for their smooth melt and rich flavor. Place the butter and chopped chocolate into a medium heat-proof bowl and microwave in short 10-second bursts on high, stirring thoroughly between each until silky smooth. It’s important to keep stirring so your mixture becomes perfectly glossy and lump-free. Then set it aside to cool just a bit while you prep the rest.
Step 3: Whisk together dry and wet ingredients separately
In a small bowl, whisk ¼ cup (31g) of all-purpose flour, ½ cup (60g) confectioners’ sugar, and ⅛ teaspoon salt until combined evenly. In another bowl, beat together 2 large whole eggs and 2 large egg yolks until fully blended. Having your dry and wet mixes ready separately helps get a smooth, lump-free batter when combined later.
Step 4: Combine everything into smooth batter
Pour the flour mixture and eggs gradually into the slightly cooled chocolate mixture. Stir gently but thoroughly using a silicone spatula or wooden spoon. If any lumps appear, a quick gentle whisk helps smooth them out without overworking the batter. The end result should be glossy and slightly thick — perfect for spooning into your ramekins.
Step 5: Fill ramekins and add peanut butter center
Divide the batter evenly among your prepared ramekins. Then dollop about 2 teaspoons of creamy commercial peanut butter (like Jif or Skippy) on top of each. Gently press the peanut butter just into the batter—enough to incorporate some peanut butter goodness but leaving a bit exposed to get that classic molten swirl.
Step 6: Bake and release your molten marvels
Place the ramekins on a baking sheet and bake at 425°F (218°C) for 13 minutes. You’re looking for firm, set edges but a slightly soft and jiggly top. Once done, let them cool for 1 minute (just enough so you can handle them). Cover each ramekin with an inverted plate and carefully flip over using oven mitts. The cakes should effortlessly slip from their molds, revealing their molten peanut butter-chocolate centers.
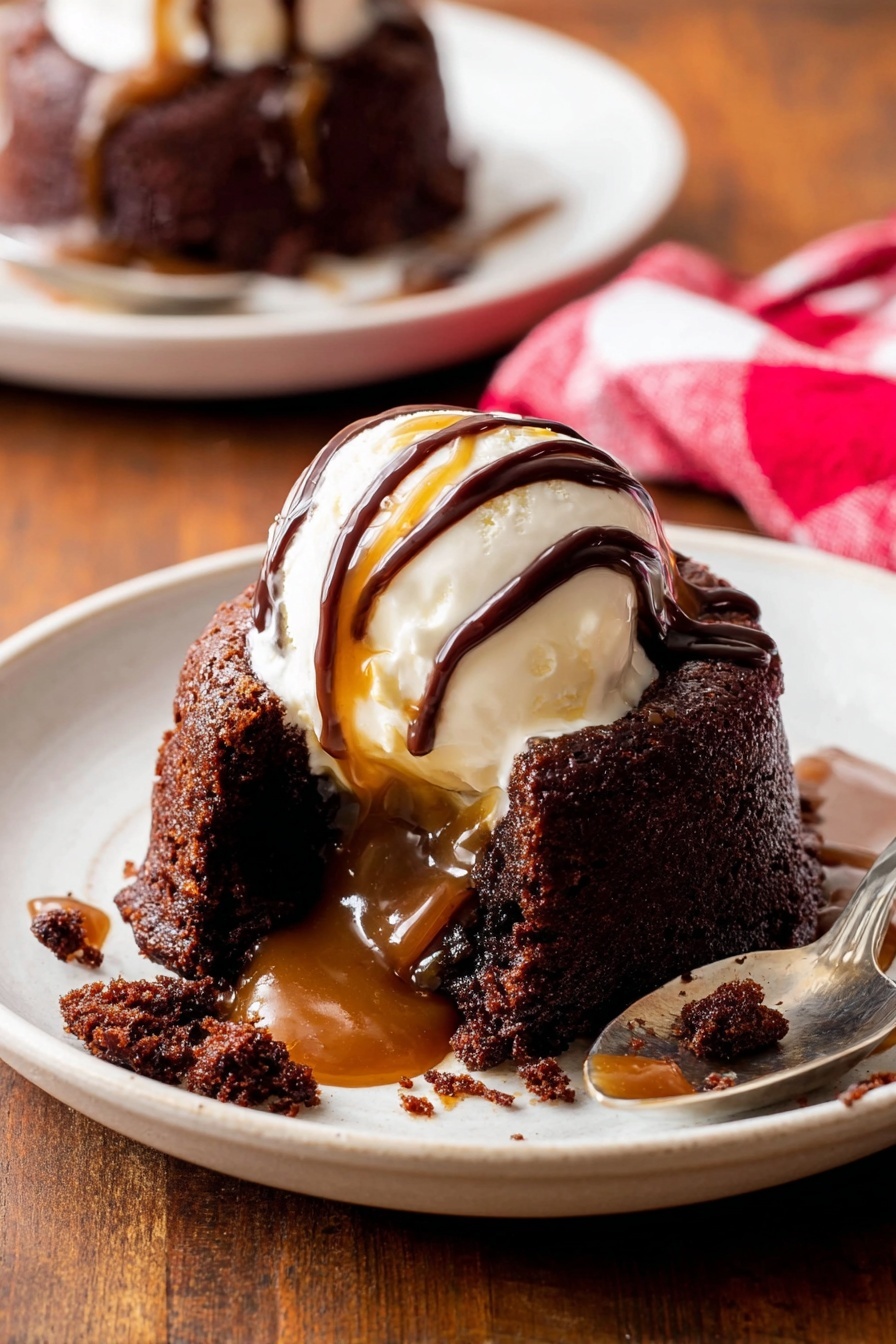
Step 7: Serve immediately with your favorite extras
These lava cakes are absolute best enjoyed right away while still warm and gooey. I love them with a scoop of vanilla ice cream and a drizzle of melted peanut butter or chocolate syrup for the ultimate indulgent finish. A big spoonful of ice cream melting into the warm center = pure bliss.
Top Tip
Mastering the perfect balance between gooey and baked in these Peanut Butter Chocolate Lava Cakes can be a bit tricky, so here are some tried-and-true tips to help you get that luscious molten center every single time.
- Use High-Quality Chocolate: Choosing premium semi-sweet chocolate like Ghirardelli or Lindt really makes a difference in flavor and smooth texture. It helps your lava cakes become decadently rich.
- Don’t Overbake: The key with the 13-minute bake at 425°F is to look for firm sides but soft tops. I learned the hard way that even a minute or two too long can dry out the center.
- Prepare Ramekins Properly: Spraying with nonstick spray and dusting with cocoa powder ensures a smooth release when flipping. This simple step prevents your cakes from sticking and breaking apart.
- Use Commercial Creamy Peanut Butter: Stick to brands like Jif or Skippy for the best molten peanut butter pockets. Avoid natural or crunchy varieties—they don’t melt the same or distribute evenly.
How to Serve Peanut Butter Chocolate Lava Cakes Recipe
Garnishes
To elevate your Peanut Butter Chocolate Lava Cakes, consider topping them with a scoop of vanilla or salted caramel ice cream for a cool contrast. Drizzling warmed peanut butter or rich chocolate syrup over the cakes adds extra gooey indulgence. A sprinkle of chopped peanuts or flaky sea salt can also add a delightful texture and flavor dimension.
Side Dishes
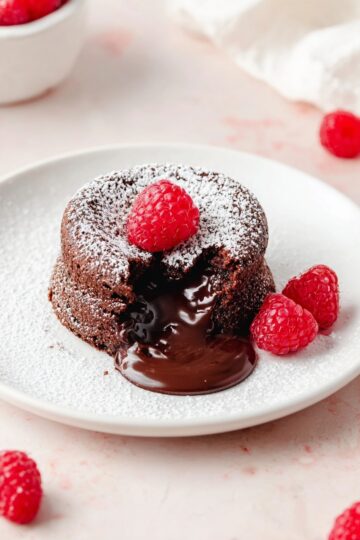
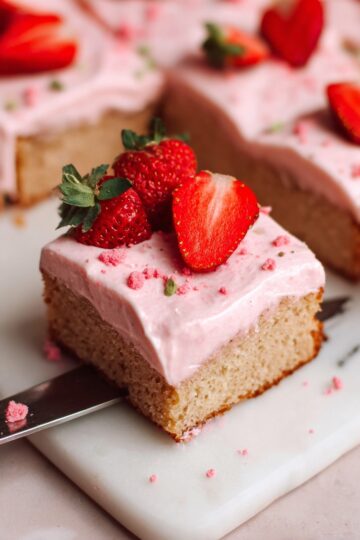
Serve your lava cakes alongside fresh berries like raspberries or strawberries to add a bright, refreshing pop. For a richer experience, a dollop of whipped cream or a spoonful of berry compote balances the deep chocolate and peanut butter flavors beautifully.
Make Ahead and Storage
Storing Leftovers
Leftover lava cakes can be stored covered in the refrigerator for up to 2 days. Keep them in an airtight container to preserve freshness and prevent them from drying out.
Freezing
You can freeze unbaked batter-filled ramekins wrapped tightly with plastic wrap and foil for up to 1 month. When ready to bake, thaw them overnight in the refrigerator before baking as usual.
Reheating
Reheat baked lava cakes gently in the microwave for about 20–30 seconds until warm but not overcooked. This helps revive the molten center and brings back that just-baked softness.
Frequently Asked Questions:
Absolutely! Simply omit the peanut butter dollop, and bake the cakes for 12-13 minutes as directed. You’ll get a classic molten chocolate lava cake with the same luscious texture.
You can use a greased and cocoa-dusted muffin pan instead. Bake at 425°F (218°C) for about 10 minutes and carefully remove each cake with a spoon before serving. The size and bake time vary slightly but results are still delicious.
Yes! Prepare through step 6, cover tightly, and refrigerate for up to 1 day. Bring the batter to room temperature before baking to ensure even cooking.
Use commercial creamy peanut butter brands like Jif or Skippy for best melting and flavor. Avoid natural, crunchy, or other nut butters to maintain the right texture and consistency.
Final Thoughts
These Peanut Butter Chocolate Lava Cakes Recipe moments are pure magic — rich, gooey, and irresistibly comforting. Whether you're treating yourself or impressing guests, the blend of luscious chocolate and creamy peanut butter hits all the right notes. With just a little care and those tips in hand, you’ll be enjoying bakery-worthy molten cakes from your own oven in no time. Happy baking and even happier tasting!
Print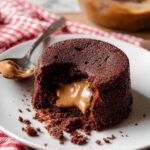
Peanut Butter Chocolate Lava Cakes Recipe
- Prep Time: 15 minutes
- Cook Time: 13 minutes
- Total Time: 35 minutes
- Yield: 4 cakes
- Category: Dessert
- Method: Baking
- Cuisine: American
- Diet: Vegetarian
Description
These Peanut Butter Chocolate Lava Cakes combine rich semi-sweet chocolate with creamy peanut butter for an indulgent dessert featuring a molten center. Perfectly baked in ramekins, this recipe yields gooey, decadent cakes that pair beautifully with ice cream or sauces for serving.
Ingredients
Main Ingredients
- 6 ounces high quality semi-sweet chocolate (such as Ghirardelli or Lindt)
- ½ cup (8 Tbsp; 113g) unsalted butter
- ¼ cup (31g) all-purpose flour (spooned & leveled)
- ½ cup (60g) confectioners’ sugar
- ⅛ teaspoon salt
- 2 large eggs
- 2 large egg yolks
- 8 teaspoons (42g) creamy peanut butter (about 2 teaspoons per cake, use commercial creamy peanut butter like Jif or Skippy)
Optional for Serving
- Ice cream
- Melted peanut butter
- Chocolate syrup
Instructions
- Prepare Ramekins: Spray 4 six-ounce ramekins with nonstick cooking spray and dust them with cocoa powder to ensure the lava cakes release easily after baking.
- Preheat Oven: Preheat your oven to 425 degrees Fahrenheit (218 degrees Celsius) to get it ready for baking.
- Melt Chocolate and Butter: Coarsely chop the semi-sweet chocolate. Place the butter in a medium heat-proof bowl and add the chopped chocolate on top. Microwave in 10-second increments on high, stirring thoroughly after each, until the mixture is completely smooth. Set aside to cool slightly.
- Mix Dry Ingredients: In a small bowl, whisk together the flour, confectioners’ sugar, and salt until combined.
- Combine Eggs: In another small bowl, whisk the 2 whole eggs and 2 egg yolks together until fully blended.
- Combine All: Gradually pour the flour mixture and the eggs into the melted chocolate mixture. Stir slowly using a silicone spatula or wooden spoon until smooth and slightly thick, whisking out any lumps gently.
- Fill Ramekins: Evenly spoon the chocolate batter into the prepared ramekins. Dollop the peanut butter on top (about 2 teaspoons per cake) and gently press it slightly into the batter, leaving some peanut butter exposed.
- Bake: Place the ramekins on a baking sheet and bake in the preheated oven for 13 minutes. The sides should look firm while the tops remain slightly soft.
- Invert Cakes: Allow the lava cakes to cool for 1 minute. Then, cover each ramekin with an inverted plate and carefully flip over using an oven mitt as the ramekins will be hot. The cakes should release cleanly onto the plates.
- Serve: Serve immediately with optional ice cream and drizzles of melted peanut butter and/or chocolate syrup if desired for extra indulgence.
Notes
- This batter can be prepared through step 6 ahead of time; cover tightly and refrigerate for up to 1 day. Bring to room temperature before continuing.
- Use commercial creamy peanut butter such as Jif or Skippy; avoid natural, crunchy, or other nut butters for best results.
- If you don’t have 6-ounce ramekins, use a greased and cocoa-dusted 6-cup muffin pan instead. Bake at 425°F (218°C) for 10 minutes and turn out carefully.
- For plain lava cakes without peanut butter, simply omit the peanut butter and bake for the same time.
- Standard 6-ounce ramekins are recommended for consistent bake times; they work well for other desserts like custards and soufflés too.
Nutrition
- Serving Size: 1 cake
- Calories: 450 kcal
- Sugar: 28 g
- Sodium: 110 mg
- Fat: 32 g
- Saturated Fat: 12 g
- Unsaturated Fat: 18 g
- Trans Fat: 0 g
- Carbohydrates: 37 g
- Fiber: 3 g
- Protein: 6 g
- Cholesterol: 140 mg

Leave a Reply