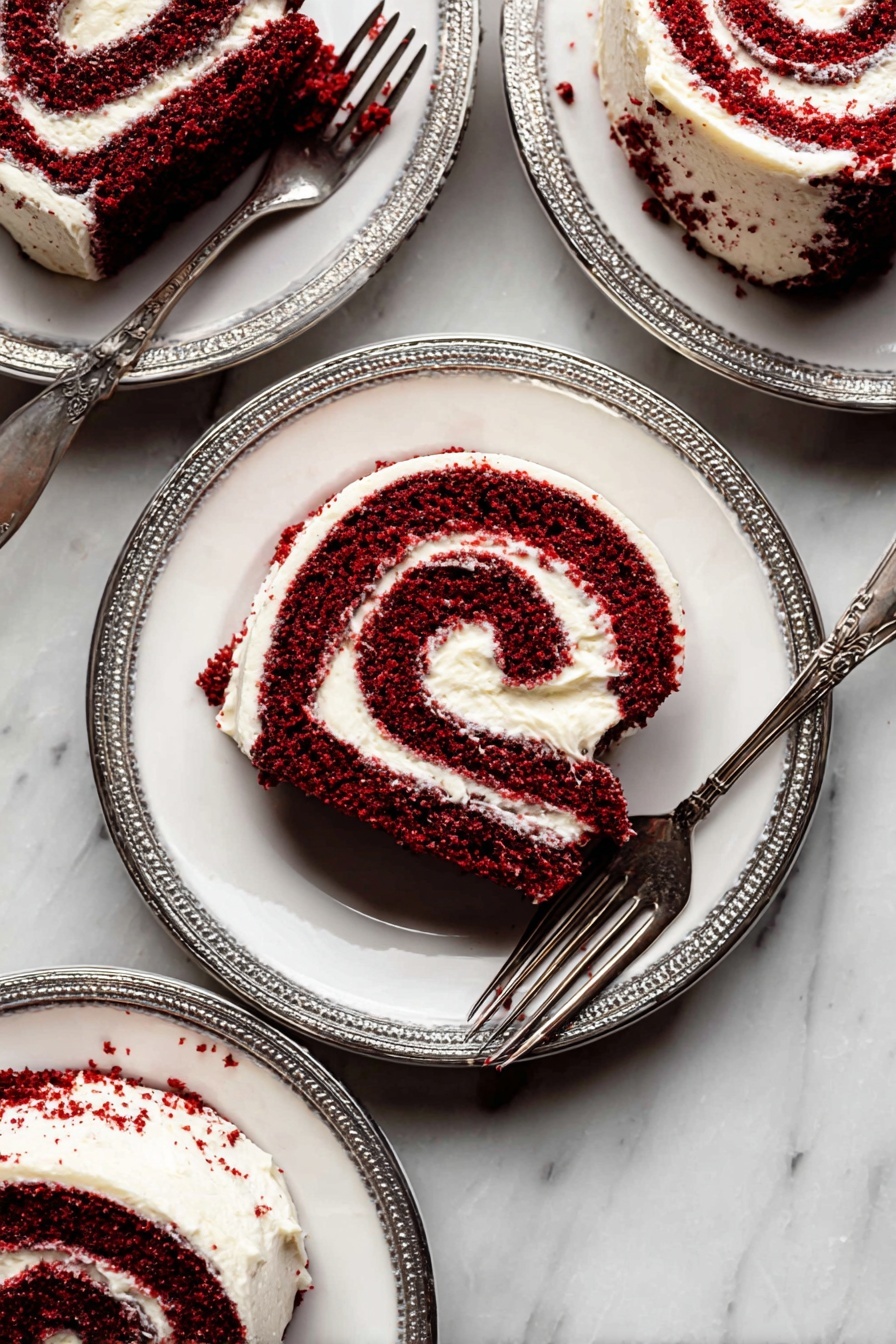
There’s something truly magical about a cake that rolls out of the oven rich in red color and wrapped in luscious cream cheese frosting. That’s why I’m excited to share my Red Velvet Cake Roll with Cream Cheese Frosting Recipe—it’s a showstopper for special occasions but simple enough to make for an easy treat any day.

Jump to:
- Why You'll Love This Recipe
- Ingredients & Why They Work
- Make It Your Way
- Step-by-Step: How I Make Red Velvet Cake Roll with Cream Cheese Frosting Recipe
- Top Tip
- How to Serve Red Velvet Cake Roll with Cream Cheese Frosting Recipe
- Make Ahead and Storage
- Frequently Asked Questions:
- Final Thoughts
- Red Velvet Cake Roll with Cream Cheese Frosting Recipe
Why You'll Love This Recipe
This Red Velvet Cake Roll with Cream Cheese Frosting Recipe has quickly become one of my favorites. Its bright, vibrant cake combined with silky frosting makes each bite a celebration. The roll format also means it’s perfect for sharing or slicing into elegant portions.
- Vibrant Red Color: A splash of white vinegar and just the right amount of red food coloring make the cake pop with eye-catching color every time.
- Perfectly Moist and Fluffy: The mix of buttermilk and oil keeps this cake tender and soft, unlike drier traditional cakes.
- Easy Rolling Technique: Using a sugar-dusted kitchen towel for rolling ensures no cracks and a smooth spiral.
- Classic Cream Cheese Frosting: Rich, creamy, and just the right balance of sweet and tangy to complement the cake’s cocoa flavor.
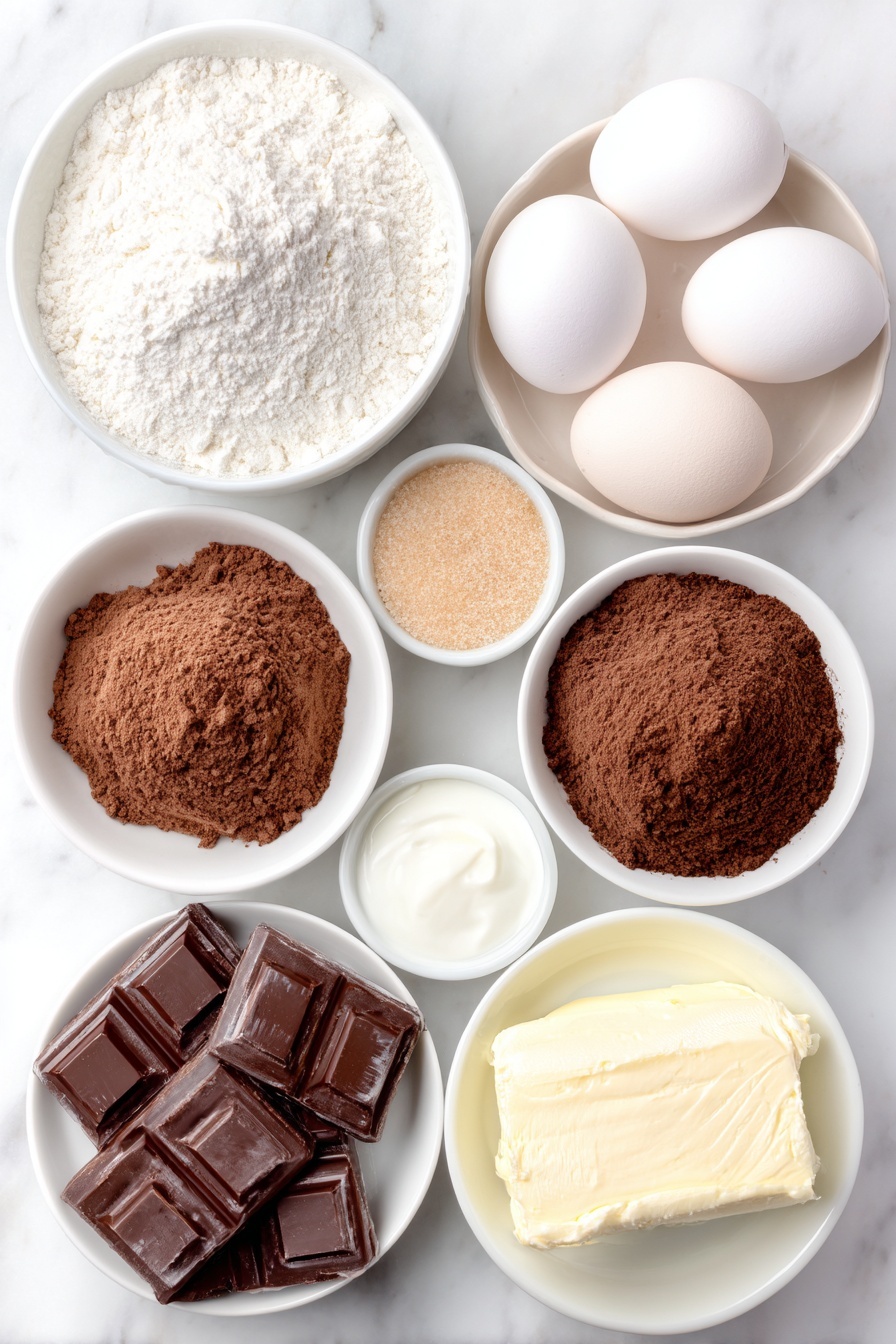
Ingredients & Why They Work
This cake roll blends traditional red velvet ingredients with a few tricks to make rolling a snap. Each element enriches the flavor or texture, and I'll share tips on where to find the best versions for terrific results.
- All-purpose flour: Use spooned and leveled flour for accuracy to keep the cake tender but structured enough to roll without breaking.
- Unsweetened cocoa powder: Provides the subtle chocolate undertone essential to red velvet without overpowering the balance.
- Baking powder: Gives the cake its light, airy crumb—don’t skip this for that perfect lift.
- Salt: Enhances all the flavors, balancing the sweetness and cocoa richness.
- Large eggs: Room temperature eggs whip up fluffier, helping the cake rise well and stay moist.
- Granulated sugar: Sweetens while aerating as it combines with eggs to make the batter light.
- Light brown sugar: Adds subtle molasses notes that deepen the flavor complexity.
- Canola or vegetable oil: Keeps the cake moist—oil does a better job than butter in this recipe’s texture.
- Buttermilk: I find it adds tanginess and tender crumb; whole milk can be a backup but won’t be as flavorful.
- White vinegar: It’s the secret to that vibrant red color sparkle and tenderizing the cake.
- Liquid red food coloring: Adjust the amount to get your desired red hue; gel food coloring works well too.
- Vanilla extract: Enhances all the flavors harmoniously.
- Confectioners’ sugar (for rolling and frosting): Dusting the towel prevents sticking, and it sweetens the frosting perfectly smooth.
- Cream cheese (full-fat, brick): Use the real deal for creamy, tangy richness that balances the cake’s flavor.
- Unsalted butter: Softened and whipped in with cream cheese creates the luscious frosting texture we all love.
Make It Your Way
While this Red Velvet Cake Roll with Cream Cheese Frosting Recipe is a classic, I love adding little personal twists depending on the occasion. You’ll find it’s flexible enough for you to make yours truly your own.
- Variation: I once swapped the red food coloring for natural beet powder for a more subtle hue—totally delicious and less artificial-looking.
- Dietary twist: For a lighter frosting, I sometimes stir in a dollop of Greek yogurt, which cuts some sweetness and adds freshness.
- Seasonal addons: Adding fresh raspberries inside the frosting before rolling turns it into a festive treat perfect for holidays.
Step-by-Step: How I Make Red Velvet Cake Roll with Cream Cheese Frosting Recipe
Step 1: Prep Your Pan Like a Pro
Start by spraying a 10×15-inch baking pan thoroughly with nonstick spray or butter. Then line that pan with parchment paper, pressing it firmly so it sticks well. Don’t forget to spray or butter the parchment, too – this step saved me many a sticky heartbreak. Trust me, a smooth release is everything.
Step 2: Sift & Set Your Dry Ingredients
Sift the flour, cocoa powder, baking powder, and salt together. This not only breaks up any lumps but ensures your cake bakes fluffy and evenly. Give it at least two sifts, especially with cocoa powder, to avoid clumps in your batter.
Step 3: Whip Those Eggs Fluffy
Using a handheld or stand mixer fitted with a whisk attachment, beat the eggs on high speed for about 5 minutes until they’re pale, light, and fluffy. This part is crucial: those whipped eggs help your cake get that delicate lift and airy texture we want.
Step 4: Mix Wet Ingredients With Sugar
Lower the mixer speed to medium, then add both granulated sugar and brown sugar, followed by oil, buttermilk, vinegar, red food coloring, and vanilla extract. Mix until well combined—your batter will look like a beautiful ruby red dream by now.
Step 5: Gently Fold in Dry Ingredients
Stop the mixer and pour in your sifted dry ingredients. Beat on low speed just until everything is combined—overmixing can make the cake tough, so be gentle here.
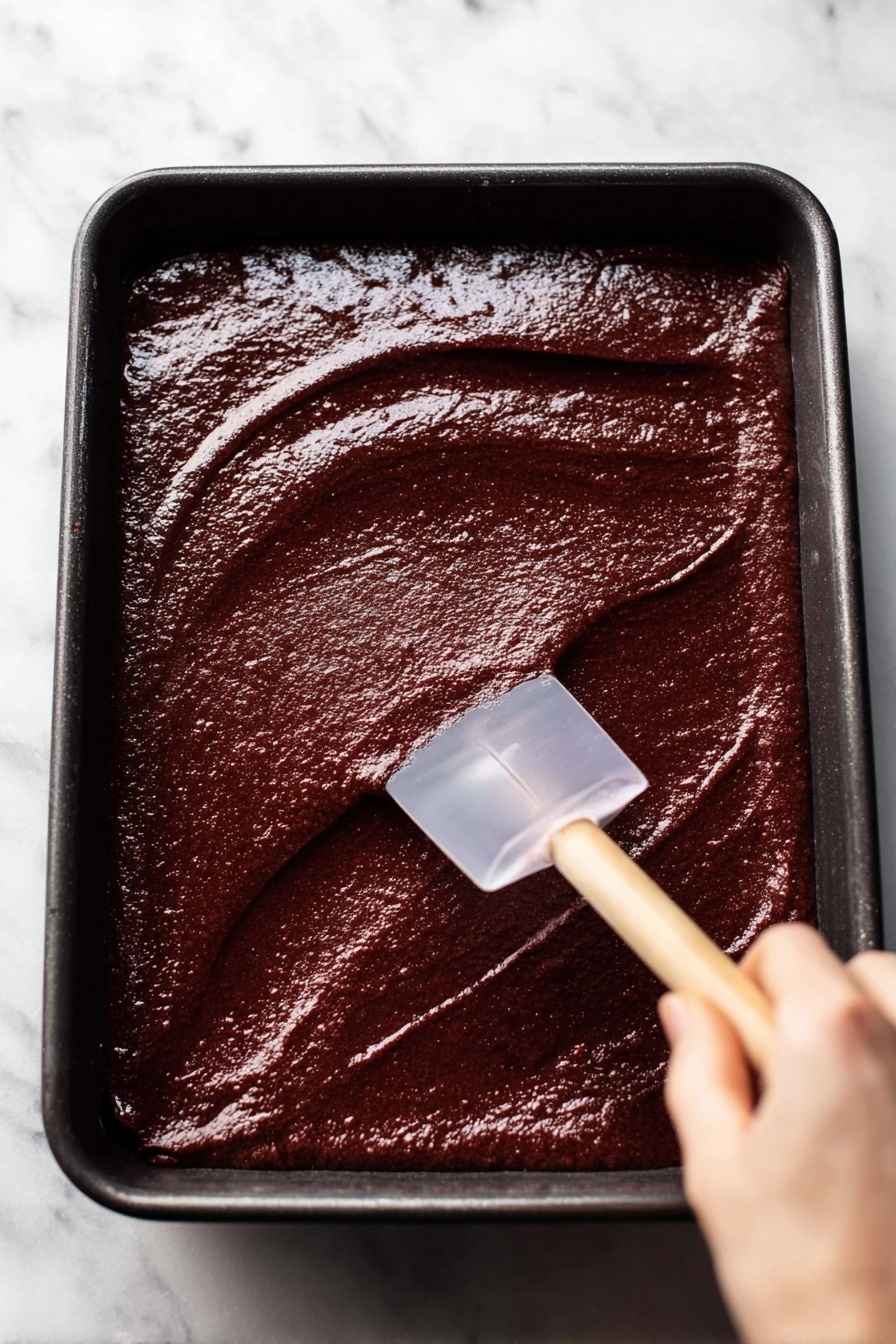
Step 6: Bake and Prepare for Rolling
Spread the batter evenly in your prepared pan, give it a little shake to settle the batter to the edges. Bake at 350°F (177°C) for about 17 minutes or until the cake springs back when lightly pressed. Meanwhile, sprinkle a thin kitchen towel with 1 cup of confectioners’ sugar—this sugary towel is your secret weapon to prevent the cake from sticking when rolling.
Step 7: The Crucial Roll-Out
When the cake comes out hot from the oven, immediately invert it onto the sugared towel. Carefully peel off the parchment paper, then start rolling the cake up with the towel from the narrow end. Go slow and gentle—your cake is warm, and this keeps it from cracking. Let it cool completely rolled up; placing it in the fridge for a couple of hours speeds cooling and sets the shape.
Step 8: Make the Cream Cheese Frosting
With your mixer, beat softened cream cheese until smooth, then add butter and mix again to creamy perfection. Gradually add the confectioners’ sugar and vanilla extract, mixing until fluffy and luscious. Taste it—you might want a little extra vanilla for that cozy flavor punch.
Step 9: Frost & Re-Roll the Cake
Gently unroll the cooled cake (minus the towel this time!), smooth the cream cheese frosting evenly over the top, leaving a small border to prevent overflow. Then roll it back up nice and tight. Don’t worry if some frosting escapes; it just means you get a little extra indulgence on the sides.
Step 10: Chill Before Serving
Wrap the cake roll loosely in plastic and refrigerate for at least 20 minutes to let the frosting set and flavors meld. When ready to serve, a light dusting of confectioners’ sugar on top adds a lovely finishing touch!
Top Tip
After making this recipe several times, I've learned a few key tips that really make a difference between “just okay” and wow-worthy cake rolls.
- Use a Well-Sugared Towel: This prevents sticking and cracking when rolling, so don’t skip dusting your towel with plenty of confectioners’ sugar.
- Roll While Warm: Rolling the cake immediately after baking while it’s warm helps it "remember" the rolled shape and prevents cracks later.
- Don’t Overmix Dry Into Wet: Lightly folding dry ingredients maintains the batter’s airiness, resulting in a soft, delicate cake.
- Use Real Cream Cheese and Butter: Full-fat, brick cream cheese and softened butter make the frosting velvety and rich — not tangy or gritty.
How to Serve Red Velvet Cake Roll with Cream Cheese Frosting Recipe
Garnishes
I love to keep it simple by dusting a little more confectioners’ sugar on top, but fresh berries like raspberries or sliced strawberries are a fantastic touch. Sometimes a few edible rose petals add a charming pop when I’m presenting this for a party—it’s all about those lovely vibrant colors.
Side Dishes
Pair this roll with a cup of strong coffee or a creamy latte—it cuts through the sweetness perfectly. For a festive meal, I enjoy serving it alongside fresh whipped cream or even a dollop of mascarpone with a drizzle of honey.
Creative Ways to Present
One fun idea I’ve tried is slicing the cake roll into rounds and stacking them like mini layer cakes, using extra frosting between layers. I’ve also wrapped slices in pretty parchment for party favors or arranged slices on a platter surrounded by seasonal fruit for a stunning dessert centerpiece.
Make Ahead and Storage
Storing Leftovers
After frosting, I cover the cake roll tightly with plastic wrap and store it in the refrigerator. This keeps it moist and fresh for up to 3 days. I find it tastes even better the next day as the flavors meld beautifully.
Freezing
This red velvet cake roll freezes wonderfully—wrap it snugly in plastic, then foil to protect it from freezer burn. It keeps for 2 to 3 months. When you’re ready, thaw it overnight in the fridge for perfect slicing next day.
Reheating
Since it’s best served chilled, I usually let leftovers sit on the counter for 10 minutes before slicing to take the chill off. If you want a warm dessert, serve slices alongside a hot cup of coffee or warm milk rather than reheating the roll itself.
Frequently Asked Questions:
You can try substituting non-dairy cream cheese and butter alternatives, but keep in mind this may affect the texture and flavor slightly. Using coconut or almond-based cream cheese and vegan butter can work, but results vary based on brands and preparation.
The key is rolling the cake while it’s still warm using a confectioners’ sugar-dusted towel. Rolling it this way “trains” the cake to keep its shape and prevents cracks later. Avoid waiting too long or rolling it without the towel, which increases cracking risk.
Absolutely! Gel food coloring is actually preferable because it won’t add extra liquid to the batter. Use about 1 teaspoon of gel coloring instead of 1 tablespoon of liquid. Adjust to reach your desired color intensity.
Use a sharp serrated knife and slice with a gentle sawing motion. Chill the cake roll beforehand to firm up the frosting and cake, making cleaner slices easier and prettier.
Final Thoughts
This Red Velvet Cake Roll with Cream Cheese Frosting Recipe is one of those recipes that feels like a little celebration on a plate. It’s both old-fashioned and fresh, with a vibrant look and a comforting taste. Whenever I make it, I’m reminded of why baking is one of the best ways to show someone you care — and now, you’ve got the perfect recipe to share that feeling too. I hope you enjoy making and eating it as much as I do!
Print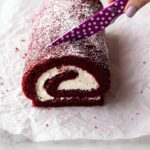
Red Velvet Cake Roll with Cream Cheese Frosting Recipe
- Prep Time: 25 minutes
- Cook Time: 17 minutes
- Total Time: 3 hours 45 minutes
- Yield: 10-12 slices
- Category: Dessert
- Method: Baking
- Cuisine: American
Description
This Red Velvet Cake Roll is a classic dessert featuring a moist, ruby red cocoa-flavored sponge rolled with tangy cream cheese frosting. Perfectly soft and visually stunning, this recipe guides you through creating a wonderfully fluffy cake that’s rolled with a delicate cream cheese filling for a delightful treat.
Ingredients
Cake
- 1 cup minus 1 Tablespoon (118g) all-purpose flour (spooned & leveled)
- 3 Tablespoons (15g) unsweetened natural cocoa powder
- 1 teaspoon baking powder
- ½ teaspoon salt
- 4 large eggs, room temperature
- ½ cup (100g) granulated sugar
- ¼ cup (50g) packed light brown sugar
- 2 Tablespoons (30ml) canola or vegetable oil
- 2 Tablespoons (30ml) buttermilk
- 1 teaspoon white vinegar
- 1 Tablespoon liquid red food coloring
- 2 teaspoons pure vanilla extract
- 1 cup (120g) confectioners’ sugar for rolling
Cream Cheese Frosting
- 6 ounces (170g) full-fat brick cream cheese, softened to room temperature
- ¼ cup (4 Tbsp; 56g) unsalted butter, softened to room temperature
- 1 and ¾ cups (210g) confectioners’ sugar
- 1 teaspoon pure vanilla extract
Instructions
- Prepare Pan: Preheat oven to 350°F (177°C). Spray a 10×15-inch baking pan with nonstick spray or grease with butter so parchment paper sticks, then line it with parchment paper. Spray or grease the parchment paper to create a nonstick surface.
- Sift Dry Ingredients: Sift the flour, cocoa powder, baking powder, and salt together until well combined and set aside.
- Beat Eggs and Mix Batter: Using a hand or stand mixer with a whisk attachment, beat the eggs on high speed for 5 minutes until light and fluffy. On medium speed, add granulated sugar, brown sugar, oil, buttermilk, vinegar, food coloring, and vanilla until combined. Reduce speed to low, add sifted dry ingredients, and beat until batter is fully mixed and ruby red in color.
- Bake Cake: Spread batter evenly in prepared pan, shaking it to level out the batter reaching all corners. Bake for 17 minutes or until the cake springs back when gently poked.
- Invert and Roll Cake: Lay a thin kitchen towel flat and sprinkle with 1 cup confectioners’ sugar. Immediately after baking, invert cake onto the sugared towel, peel off parchment paper, and slowly roll the cake up with the towel starting from the narrow end. Allow cake to cool completely rolled up; refrigerate for about 2 hours to speed cooling.
- Prepare Frosting: Beat softened cream cheese on high speed for 1 minute until smooth and creamy. Add softened butter and beat until combined. Add confectioners’ sugar and vanilla extract, then beat on medium-high speed until creamy and completely combined.
- Frost and Roll Cake: Remove cake from refrigerator, let warm slightly. Gently unroll cake, spread frosting evenly leaving ½ inch border, then carefully re-roll without the towel ensuring a tight roll. Some frosting may spill out, which is normal.
- Chill Before Serving: Loosely cover with plastic wrap, refrigerate for at least 20 minutes and up to 1 day before slicing. Optionally dust with confectioners’ sugar before serving.
Notes
- You can prepare the cake through step 7 and chill the rolled-up cake with towel in the refrigerator up to 1 day before frosting and rolling again.
- The cake roll with frosting freezes well for 2-3 months; thaw overnight in the refrigerator before slicing and serving.
- Use a 10×15-inch baking pan and parchment paper to ensure the cake releases smoothly.
- Measure flour by spooning into the cup and leveling, then remove 1 tablespoon for accurate quantity.
- Buttermilk is recommended for best flavor and texture; whole milk works as a substitute but lower fat or nondairy milk is not recommended.
- Food coloring is optional; adjust quantity for desired red intensity or substitute with gel red food coloring (1 teaspoon).
Nutrition
- Serving Size: 1 slice
- Calories: 310 kcal
- Sugar: 27 g
- Sodium: 210 mg
- Fat: 18 g
- Saturated Fat: 9 g
- Unsaturated Fat: 7 g
- Trans Fat: 0 g
- Carbohydrates: 32 g
- Fiber: 1 g
- Protein: 4 g
- Cholesterol: 95 mg


Leave a Reply